The Best Way to Clean Your Air Vents This Summer (Pro Tips Included)

Key Takeaways
- 1.The Importance of Air Vent Cleaning
- 2.Tools and Materials Needed
- 3.Step-by-Step Instructions
- 4.Additional Tips
Why You Should Clean Your Air Vents This Summer (And How to Do It Like a Pro)
As you open your windows to let in some fresh air, have you ever stopped to think about what's lurking inside those vents? Dust, pollen, and debris can accumulate over time, making it harder for your heating or cooling system to work efficiently. Not only does this affect your indoor climate control but also increases energy bills and reduces the lifespan of your HVAC equipment. In this article, we'll show you why air vent cleaning is a must-do task for every homeowner and provide you with step-by-step instructions on how to do it like a pro.
The Importance of Air Vent Cleaning
Before we dive into the nitty-gritty, let's talk about why air vent cleaning matters. Here are some key points to consider:
- Increased Energy Efficiency: When your air vents are clean, they can more effectively distribute conditioned air throughout your home, reducing the need for overactive heating or cooling.
- Reduced Allergies and Asthma: Dust, pollen, and other allergens can exacerbate respiratory issues like asthma. Cleaning your air vents helps remove these irritants from the air you breathe.
- Prolonged HVAC Equipment Life: Dirty air vents can put additional strain on your heating or cooling system, leading to premature wear and tear. Regular cleaning helps extend its lifespan.
Tools and Materials Needed
Before you start cleaning, make sure you have the following tools and materials:
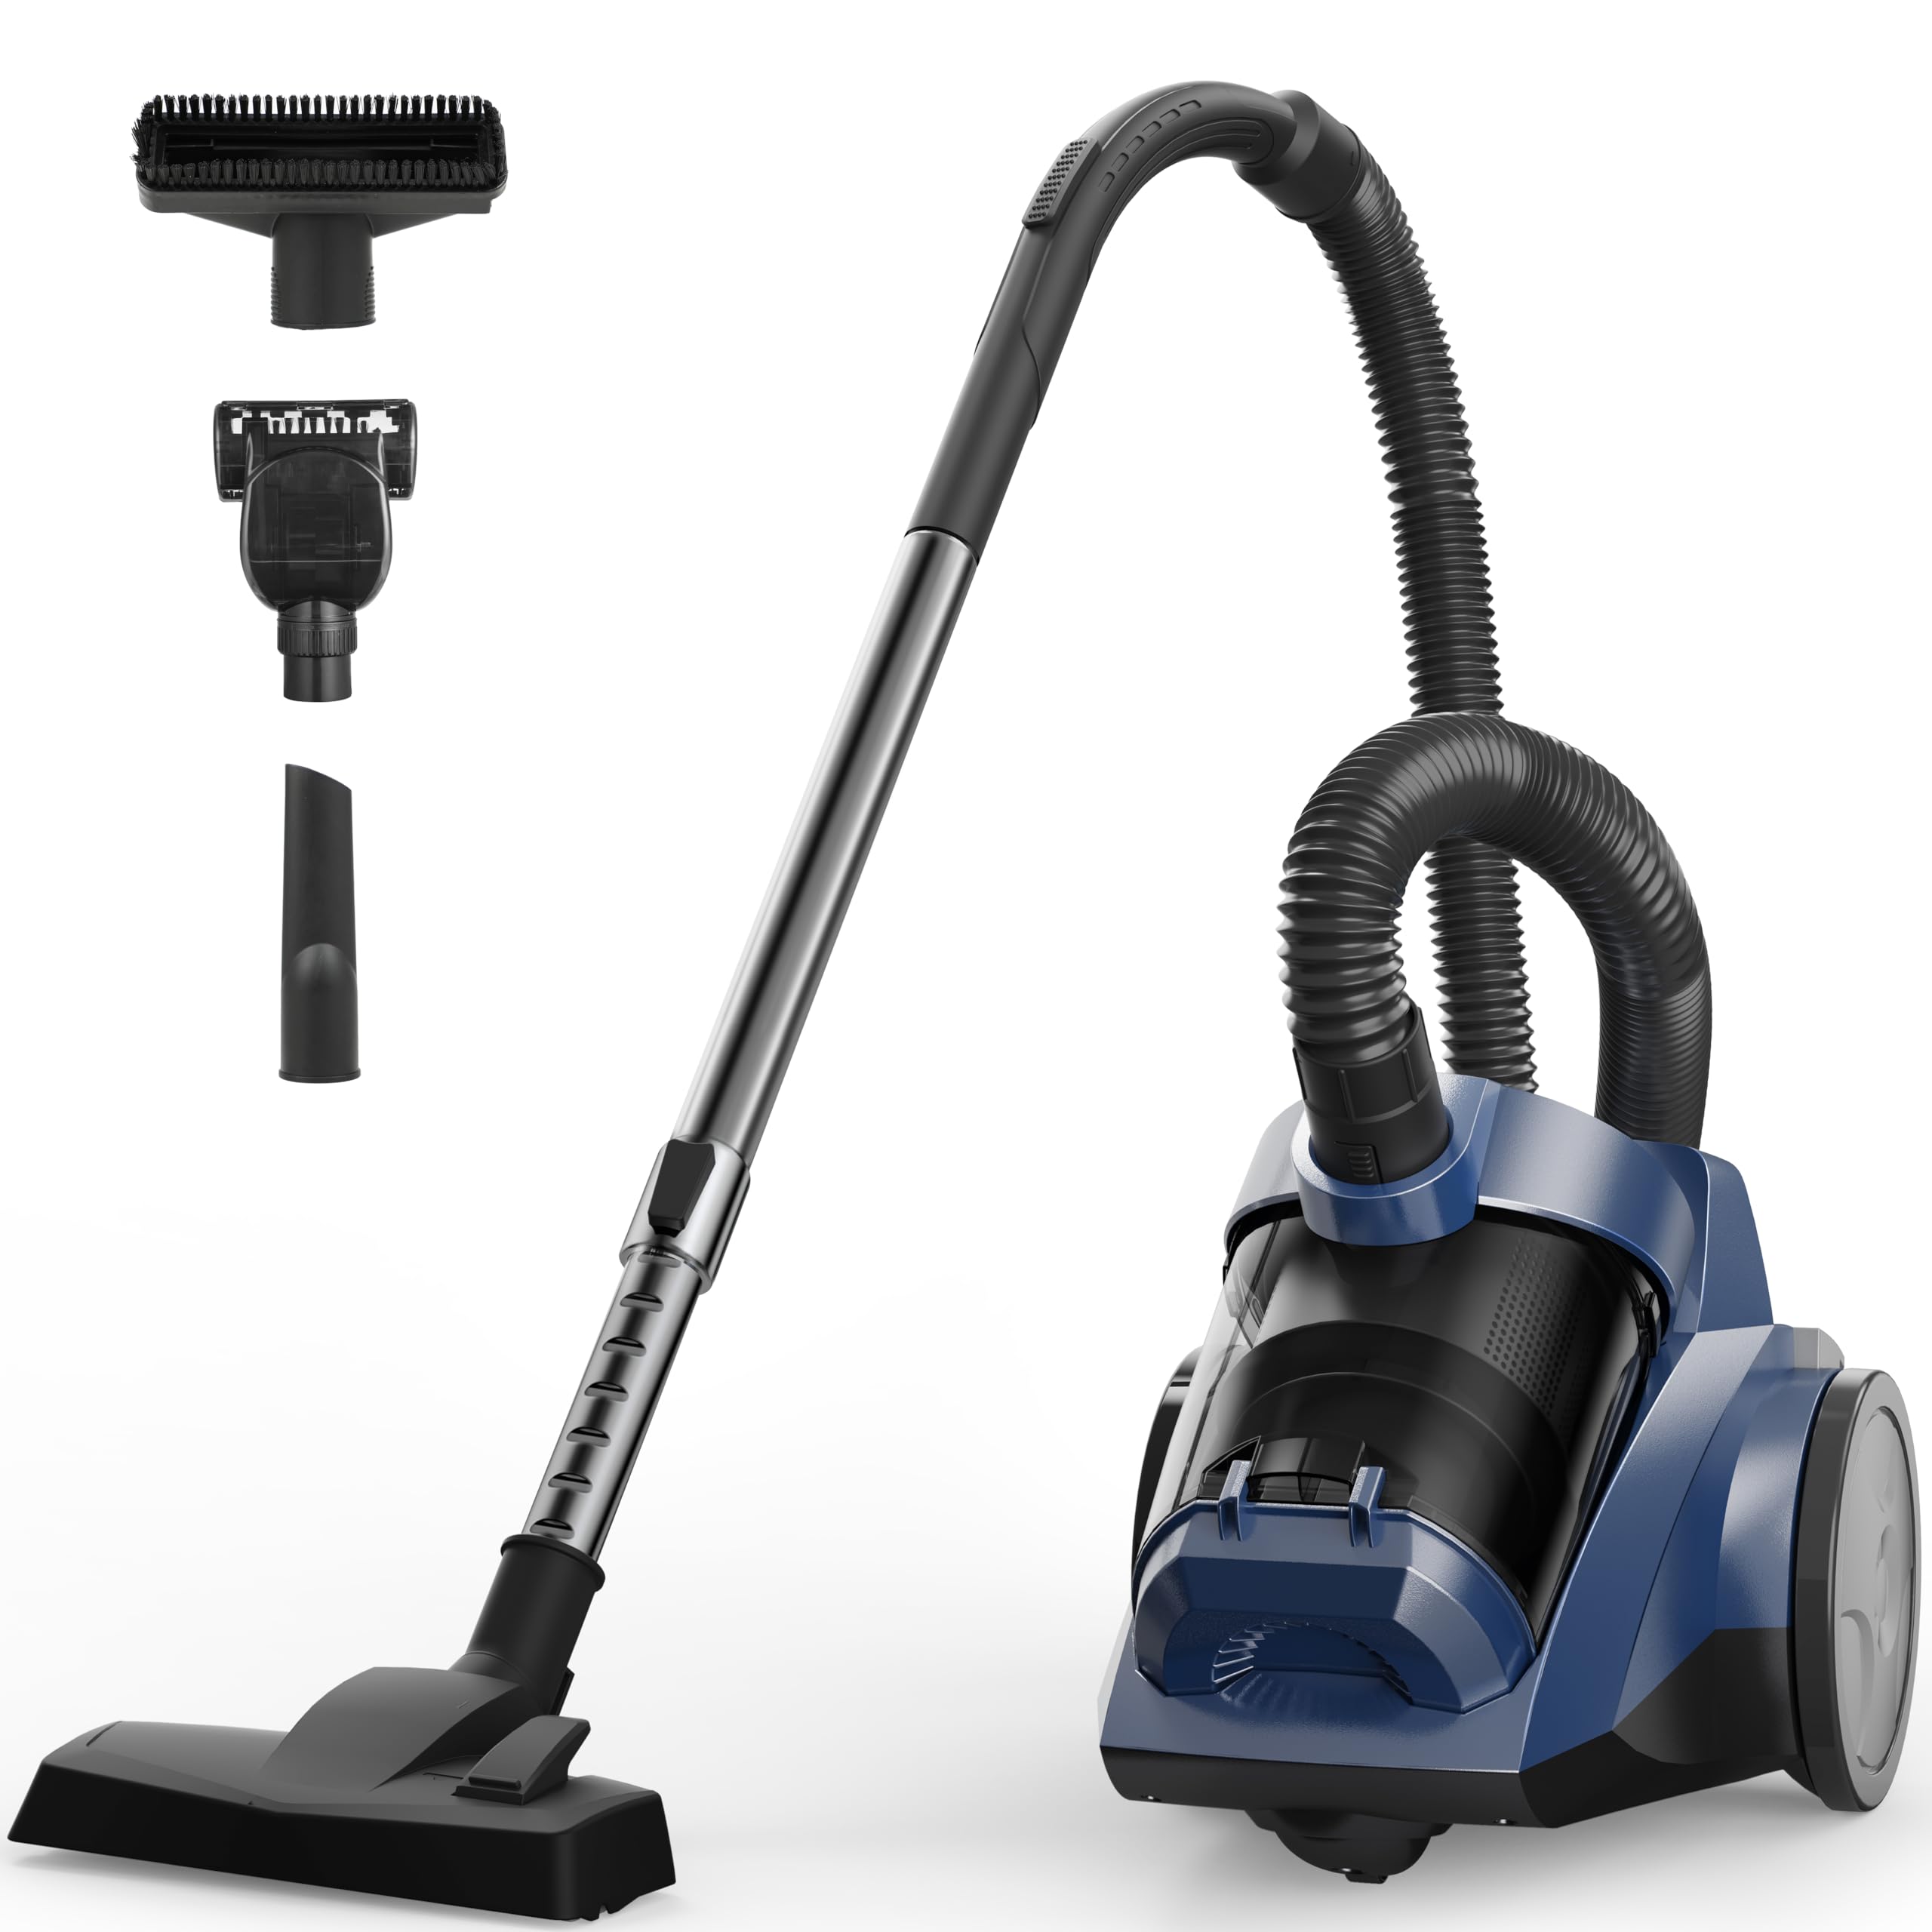
- A vacuum cleaner with a hose attachment
- A soft-bristled brush (an old toothbrush will do)
- A damp cloth
- A screwdriver (for removing vent covers)
- Air Vent Cleaning Kit (optional): This usually includes specialized brushes, vacuums, and cleaning solutions.
Step-by-Step Instructions
Now that you're equipped with the right tools and materials, follow these steps to clean your air vents:
- Remove Vent Covers: Use a screwdriver to take out the screws holding the vent covers in place. Gently pull them off and set aside.
- Vacuum Debris: Insert the hose attachment into the vent and turn on the vacuum. Move it slowly back and forth to remove any visible dust or debris.
- Brush Away Dust: Use the soft-bristled brush to gently sweep away dust and dirt from the vent walls and ceiling.
- Dampen and Wipe: Dampen a cloth with water, wring it out thoroughly, and use it to wipe down the vent surfaces. This helps remove any stubborn dust or debris that might be stuck.
- Repeat as Necessary: If you notice any remaining dust or dirt after the first pass, repeat the process until your vents are clean.
Additional Tips
- Clean Vents Seasonally: Divide the cleaning task into quarterly sessions to maintain optimal air quality throughout the year.
- Avoid Using Chemicals: Never use harsh chemicals or strong detergents when cleaning air vents. They can damage the materials and release harmful fumes.
- Consider Professional Help: If you're not comfortable with heights or if your vents are particularly dirty, consider hiring a professional to do the job for you.
Frequently Asked Questions
Q: How often should I clean my air vents? A: Clean your air vents at least once a quarter, or more frequently during peak pollen seasons or when you notice a decrease in indoor air quality.
Q: Can I use a regular vacuum cleaner to clean air vents? A: Yes, but make sure it's a handheld model with a long hose attachment. This will allow you to reach into tight spaces and maneuver around vent corners.
Q: Will cleaning my air vents improve the smell in my home? A: While cleaning your air vents can reduce dust and debris that might be causing unpleasant odors, it may not completely eliminate musty smells. Check for any underlying issues like mold or mildew buildup and address them accordingly.
* We may earn a commission from purchases made through our links.
Bissell Little Green Portable Cleaner
Our editors selected this as a top pick for cleaning based on quality and reader feedback.

Sarah Jenkins
Sarah Jenkins is a professional home organizer with over 10 years of experience helping families declutter and find peace in their living spaces. Her methods focus on sustainable, long-term organization systems.
View Full Profile & All Articles →Was this article helpful?
Get more tips in your inbox — Subscribe free.
Tags
📚 Related Articles
 cleaning
"Discover 15 Unconventional Cleaning Uses for Hydrogen Peroxide"
Unlock the Power of Hydrogen Peroxide: 15 Cleaning Uses You Never Knew Existed...
 cleaning
Natural Bathroom Cleaners
Are you tired of using harsh chemical-based bathroom cleaners that can damage your skin and the environment? Look no further! Natural bathroom cleaner...
 cleaning
Kitchen Grease Removal
The Ultimate Guide to Removing Kitchen Grease: Expert Tips and Techniques...
Expert Discussion
Share your knowledge with LifeWise
Join the Conversation
Please sign in to share your thoughts and connect with our community.
Sign In to CommentLoading conversation...